DIY Terracotta Planter
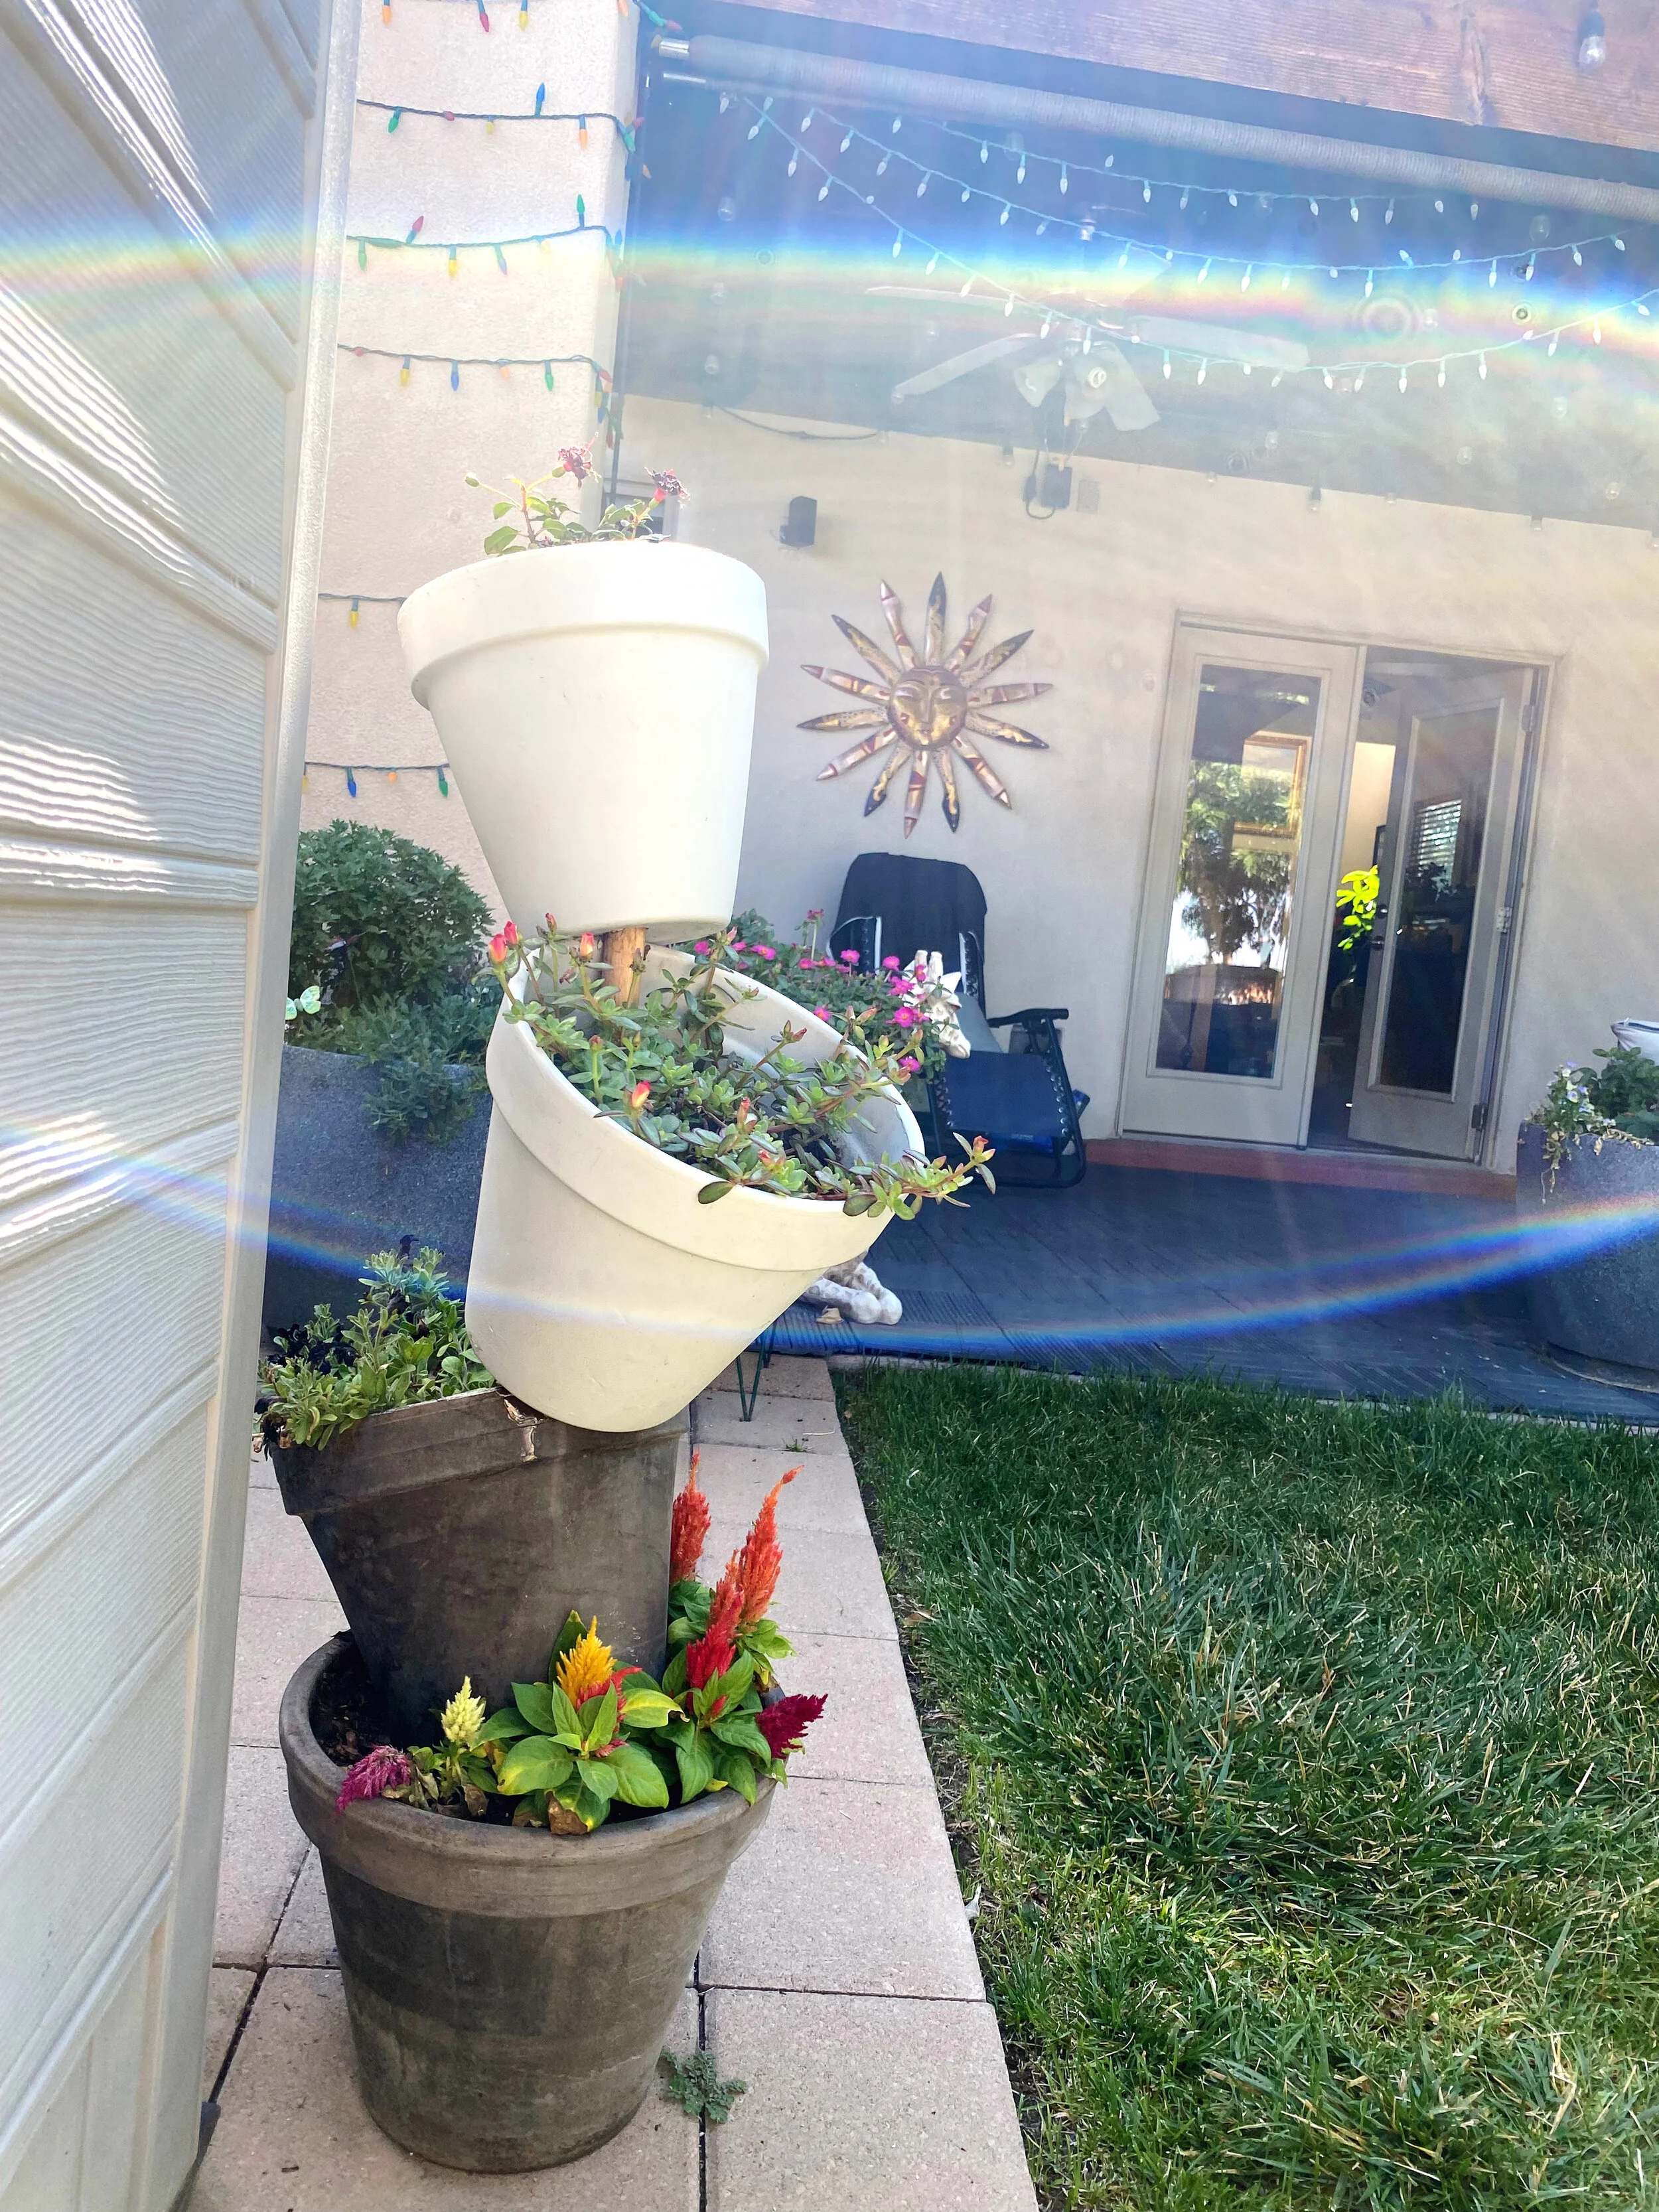
This DIY terracotta planter is so cute. It’s perfect for adding some color and height to your outdoor space. I made one for my dad for Father’s Day, and let’s just say, it was harder than I thought it would be! But I learned a bunch of tips in the process, and now I can give you instructions that make this a quick and easy DIY.
You’ll need:
Soil
Spray paint
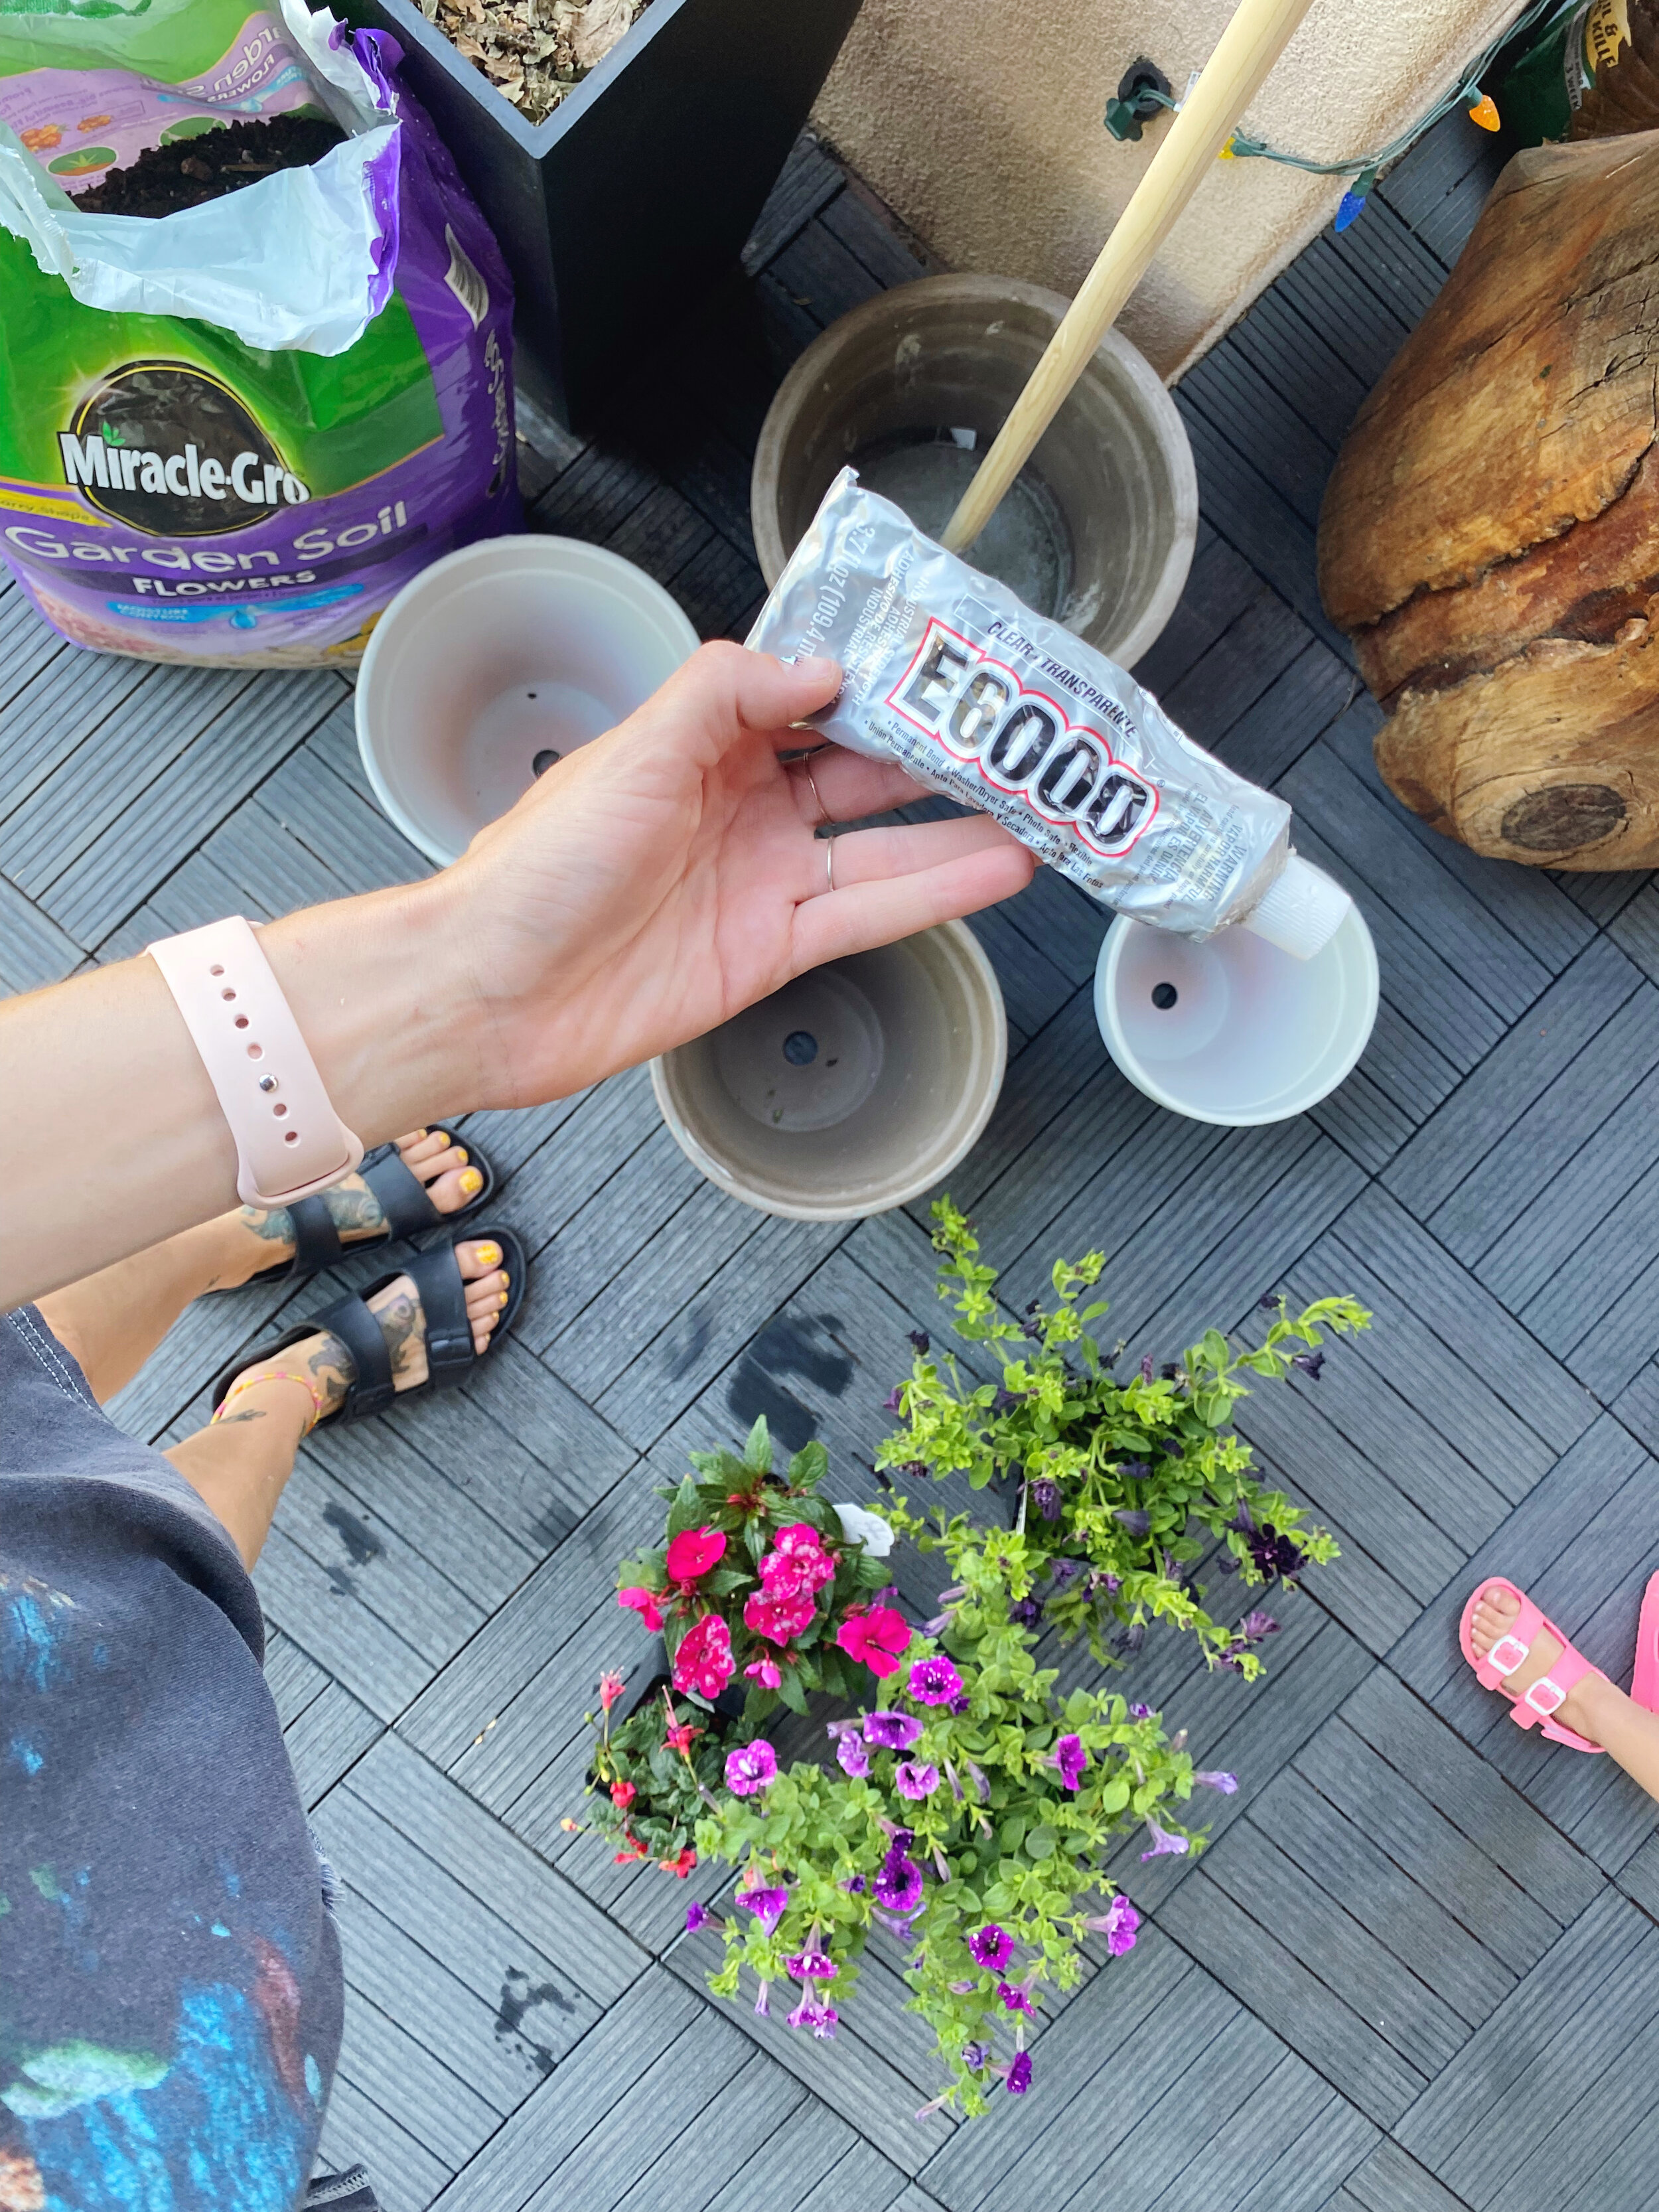
E6000 glue
Plants/flowers
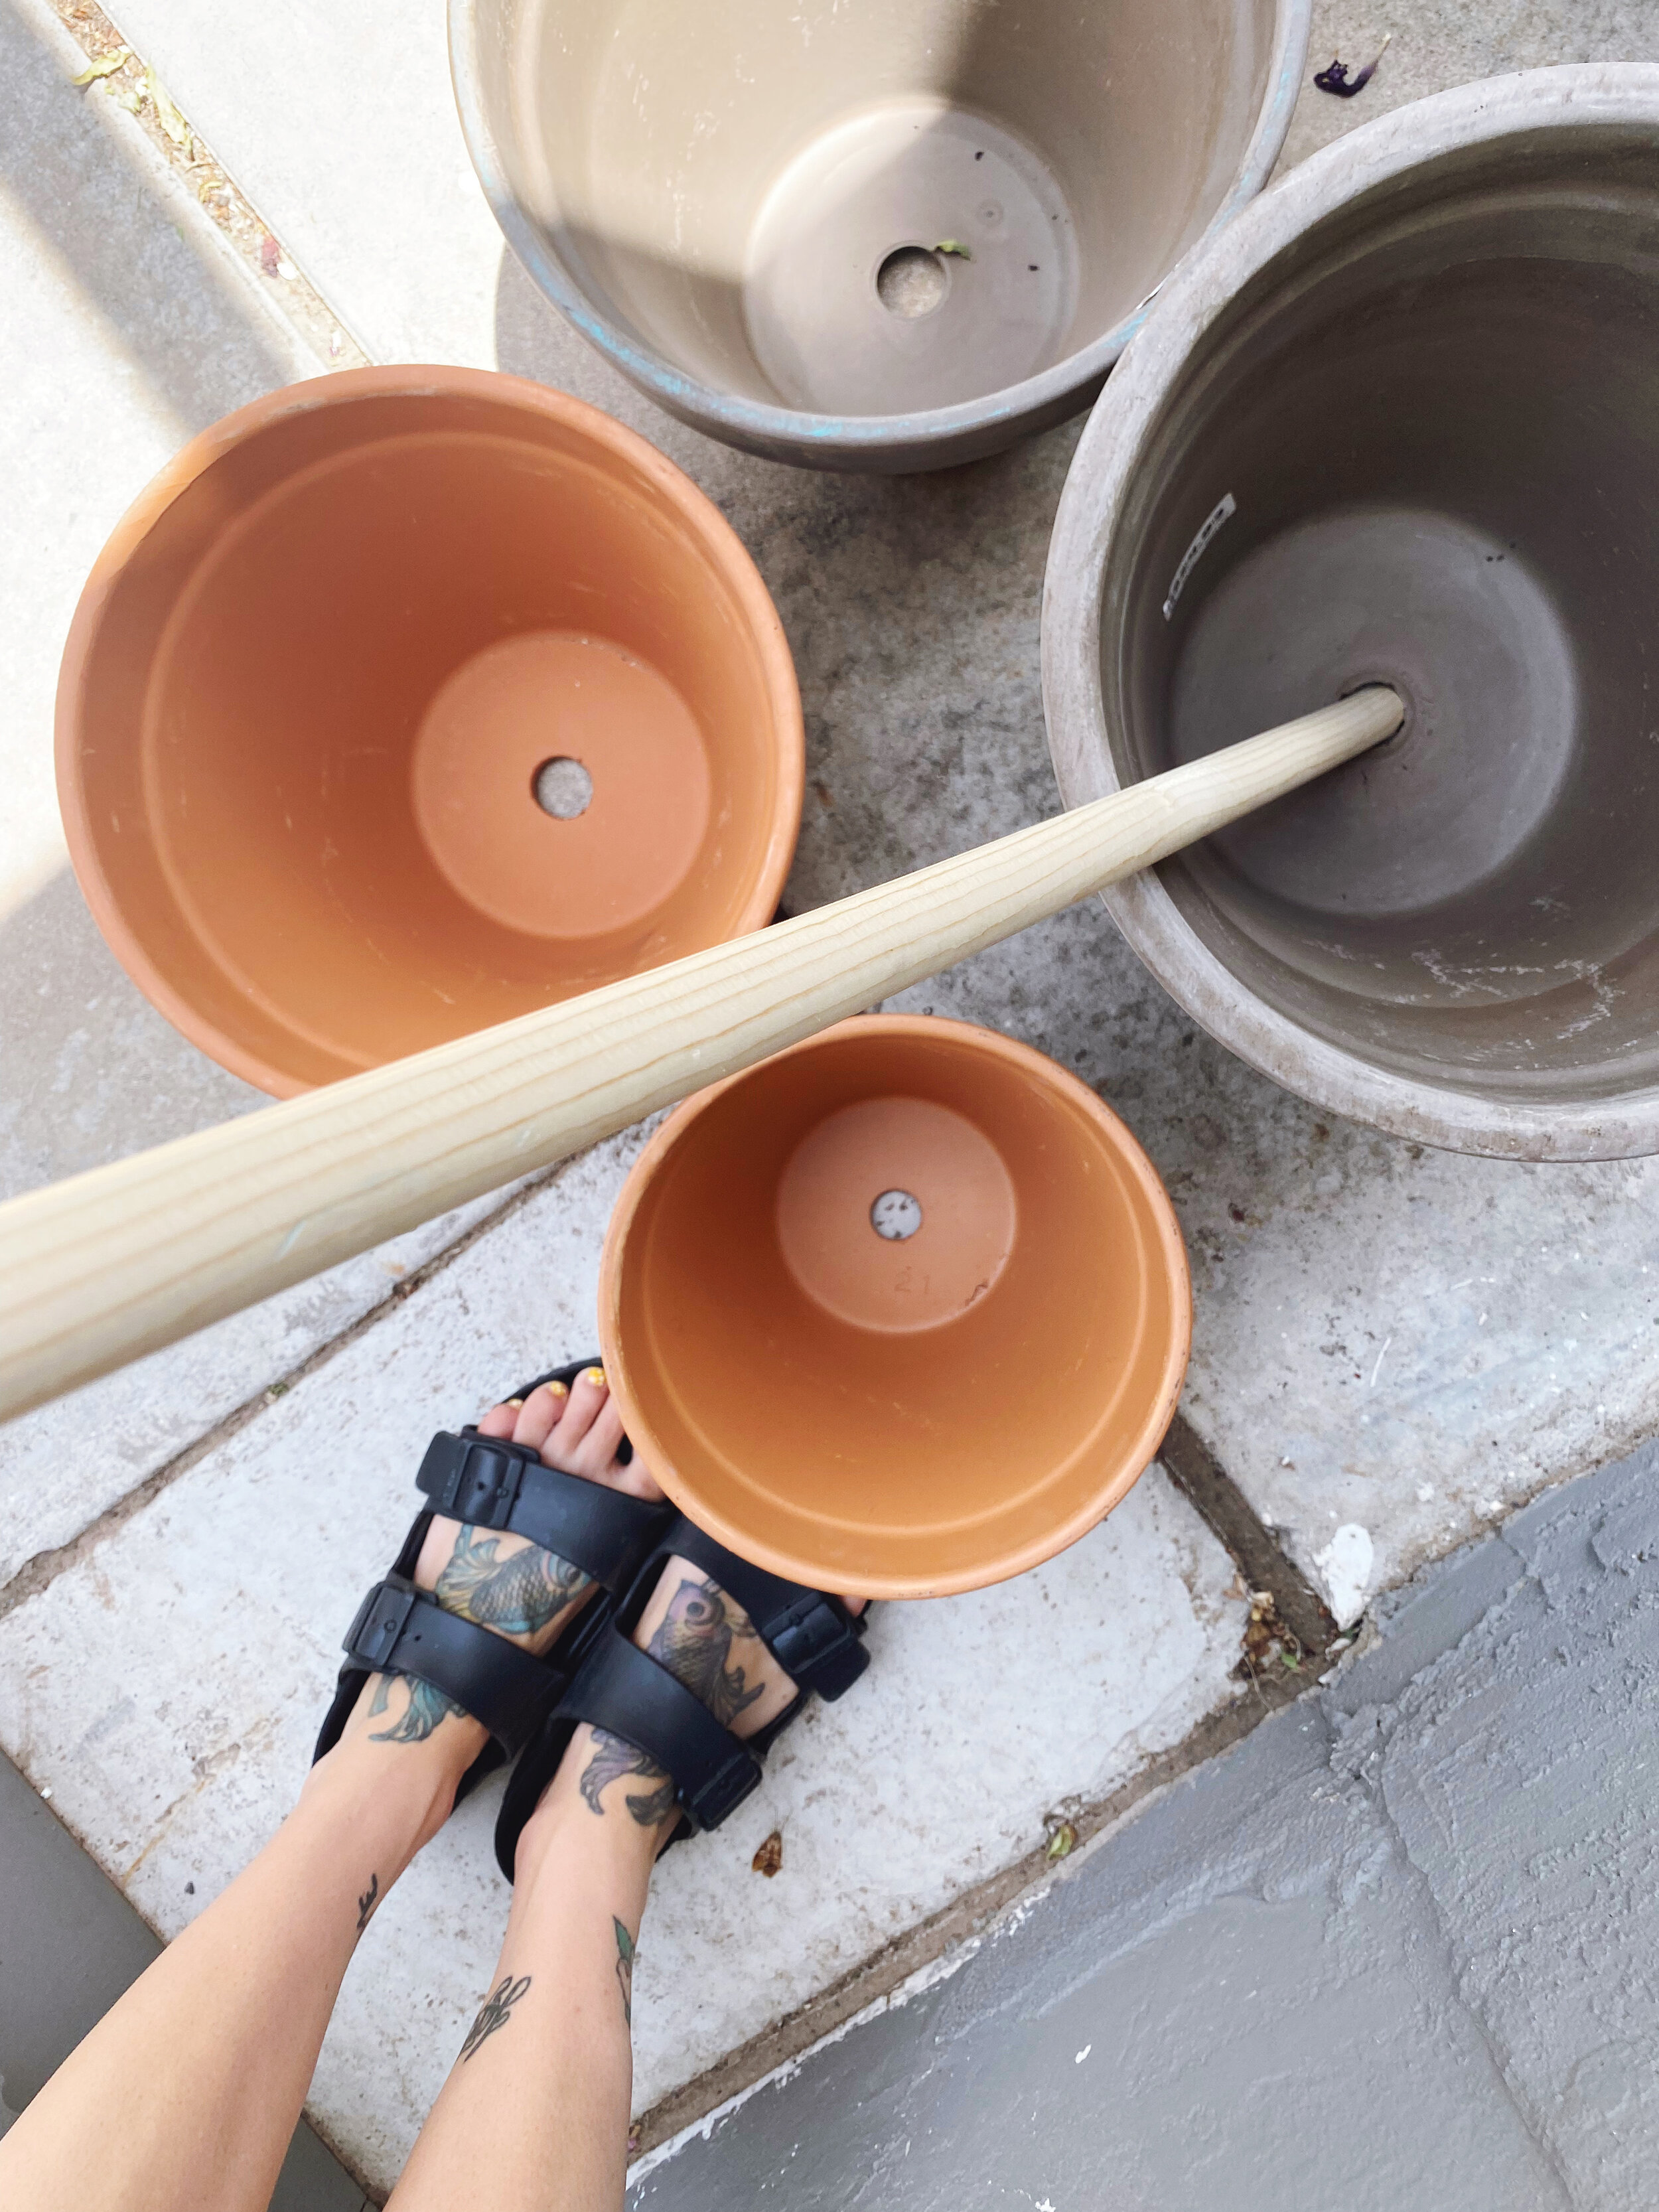
One 12-inch terracotta pot
Three 8-inch terracotta pots
4 ft. wooden dowel (7/8” width)
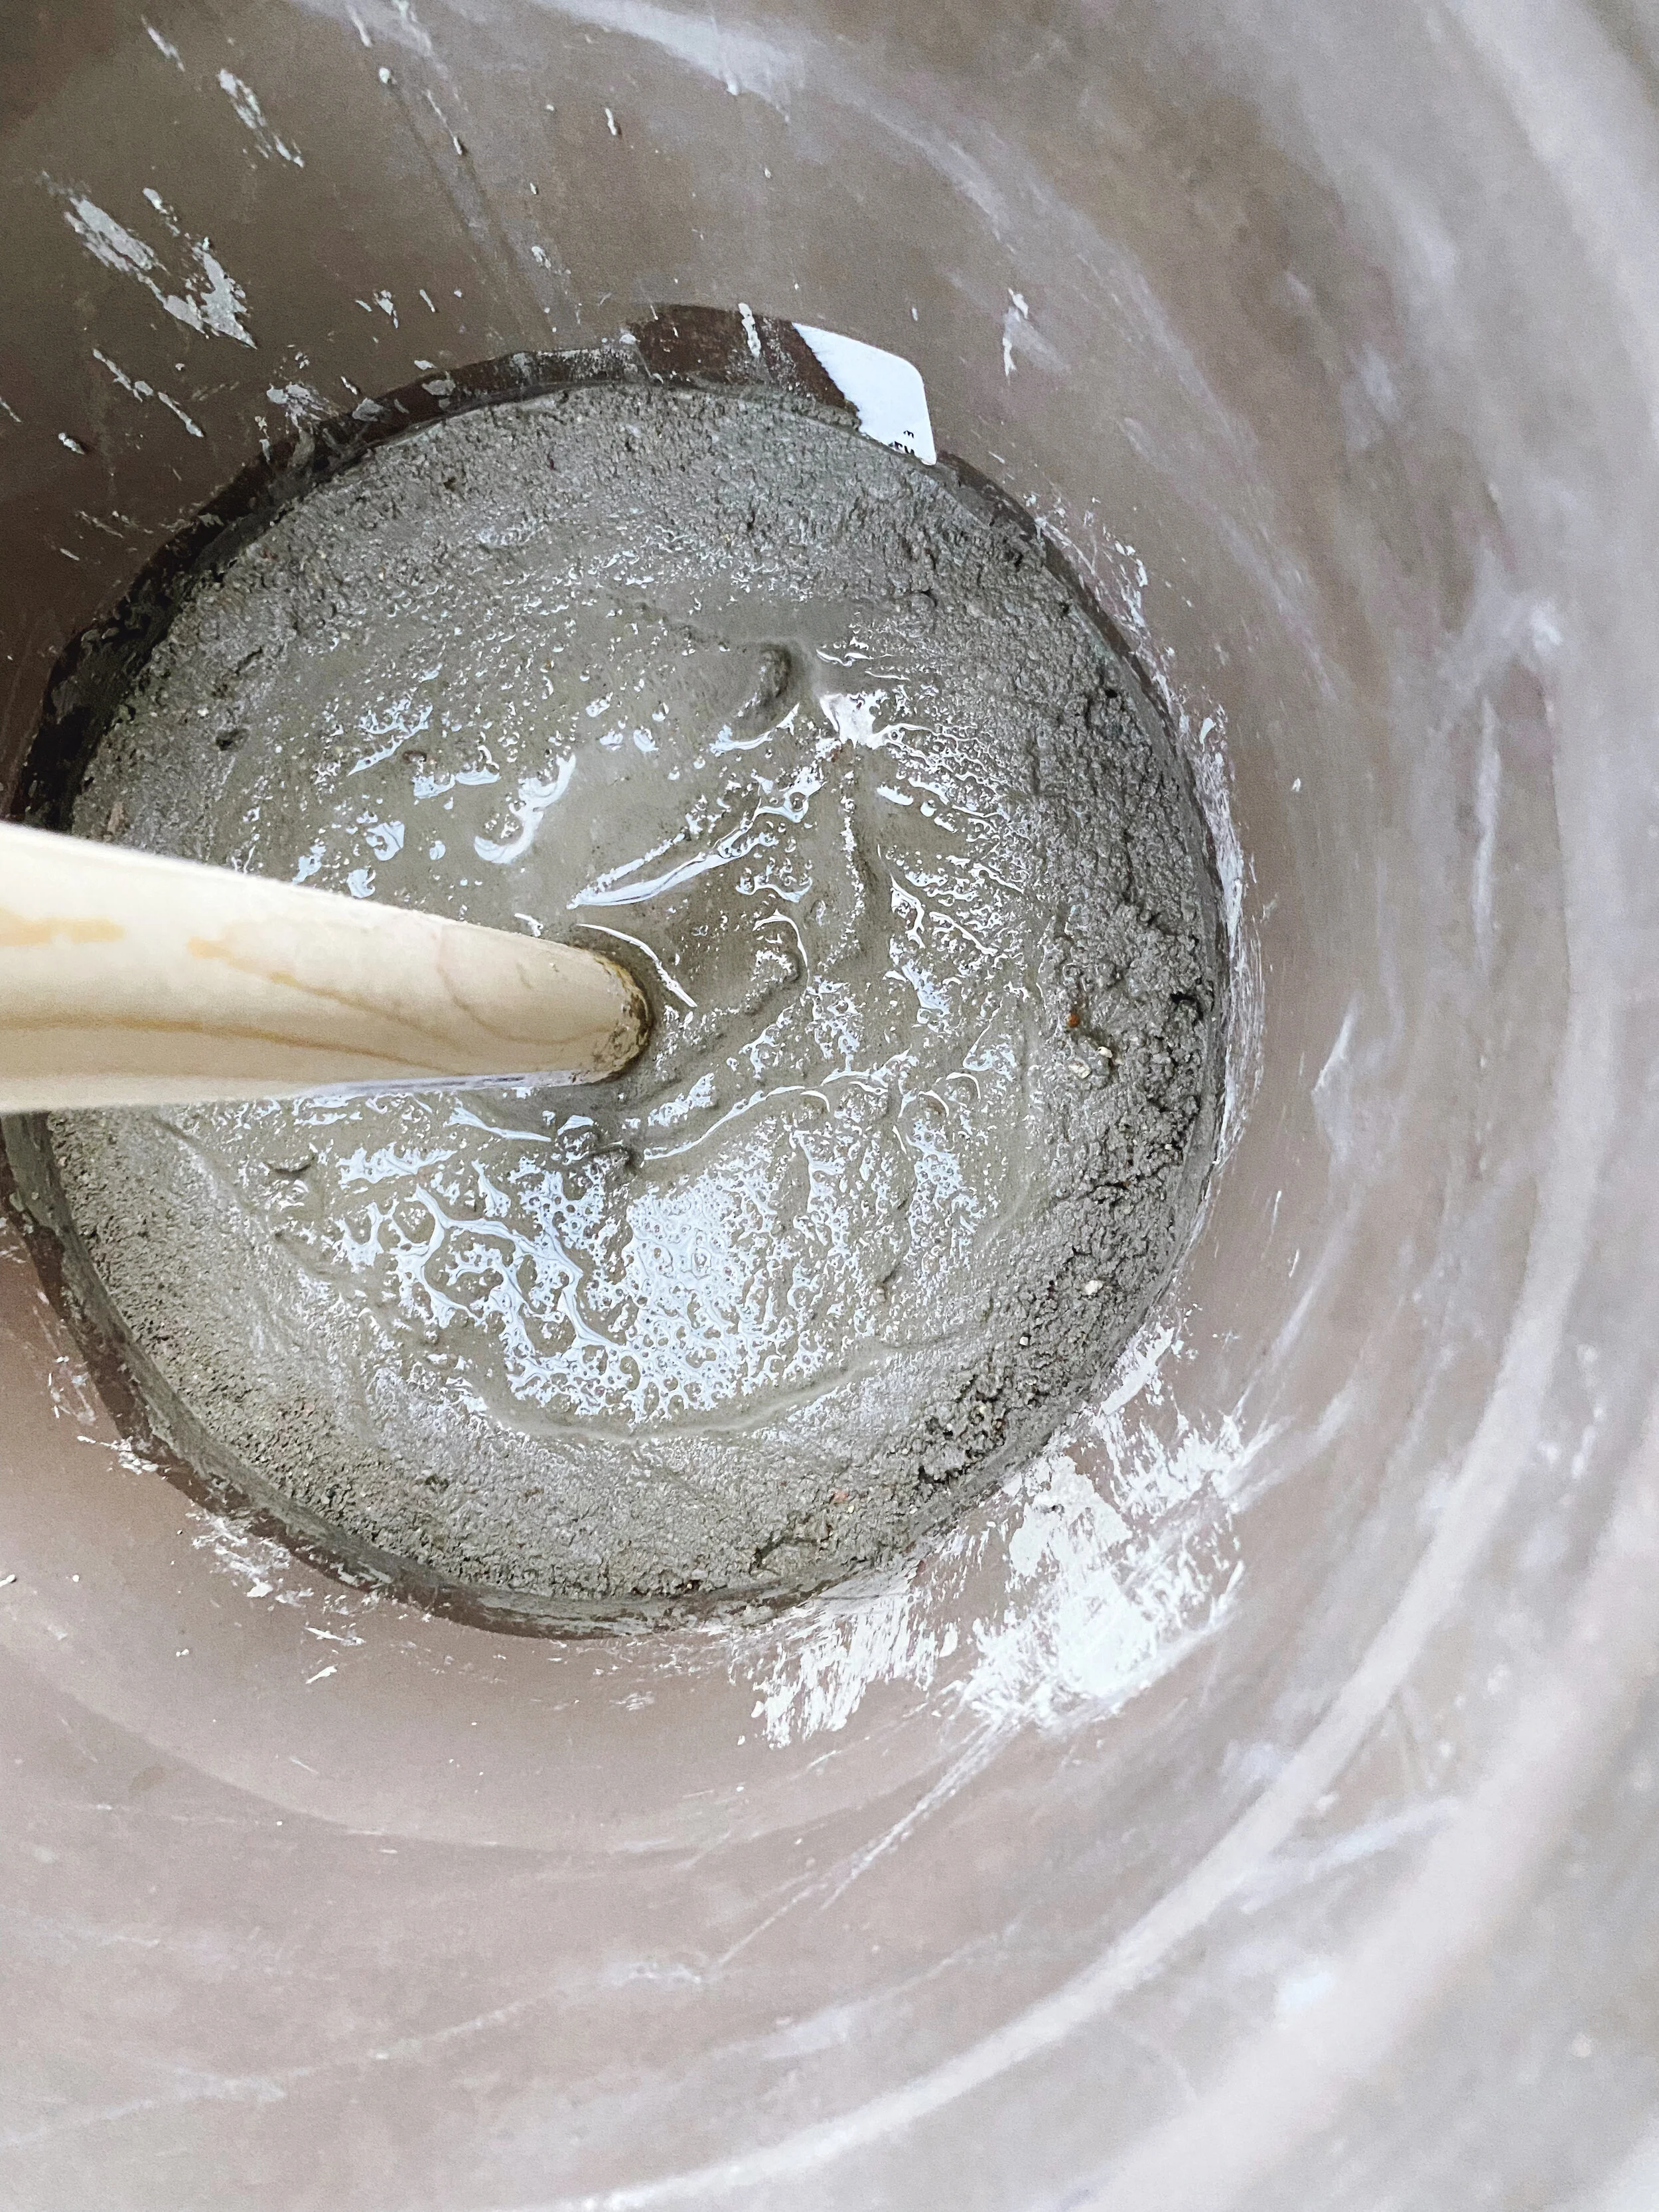
Cement (and water to mix with the cement)
Like most of my DIYs, you can keep it simple or get creative and complex. I opted to paint two of my pots, and I really like the color block look I ended up with. Classic terracotta is pretty too. This is what we call creative freedom, y’all. Just have fun and DO YOU!
Let’s get started!
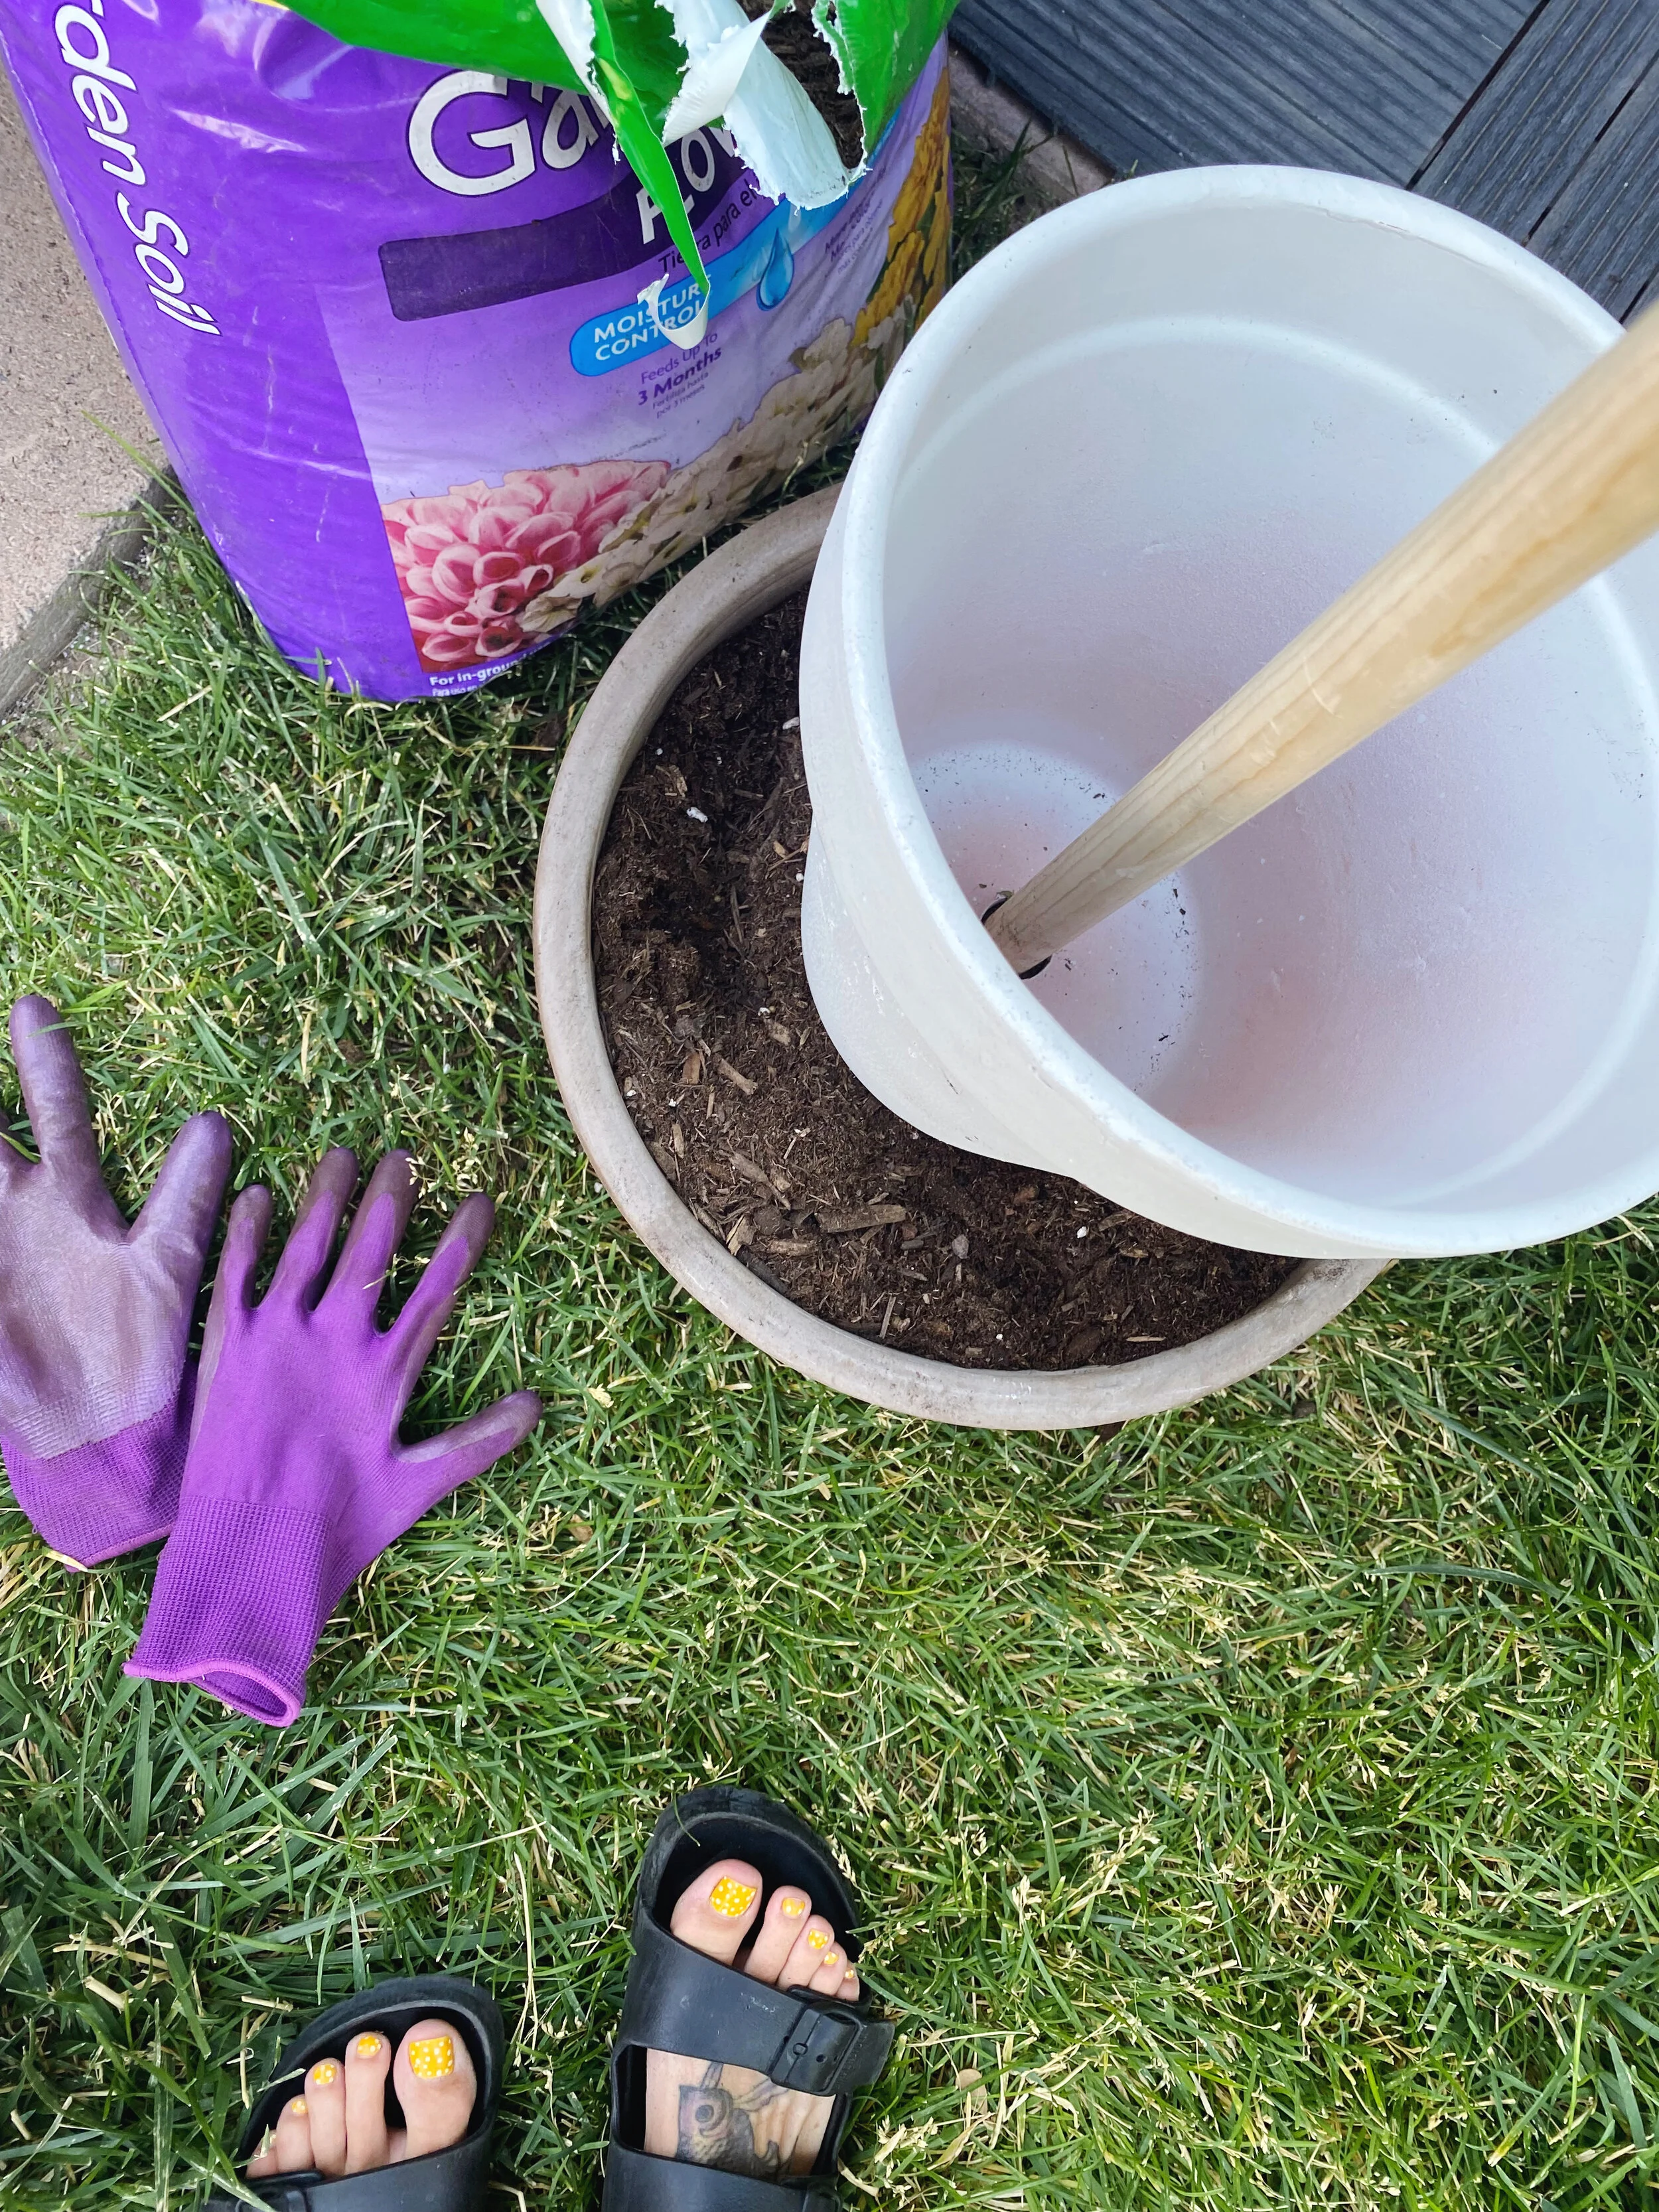
First, create a strong base. Grab your 12-inch pot and a piece of tape to cover the drain hole on the outside. If you don’t cover the hole, cement might leak out, so be mindful of where you set it to cure. Pour 4-6 inches of cement in the pot. Add water to make a cement-like paste (follow your cement instructions). You can use the dowel to stir the cement. Once you have mixed the cement, set the dowel in the bottom hole and let sit to harden overnight.
After the cement has set, you’re ready to add the rest! You’ll want to build this in its final resting spot, because it’s about to get heavy AF.
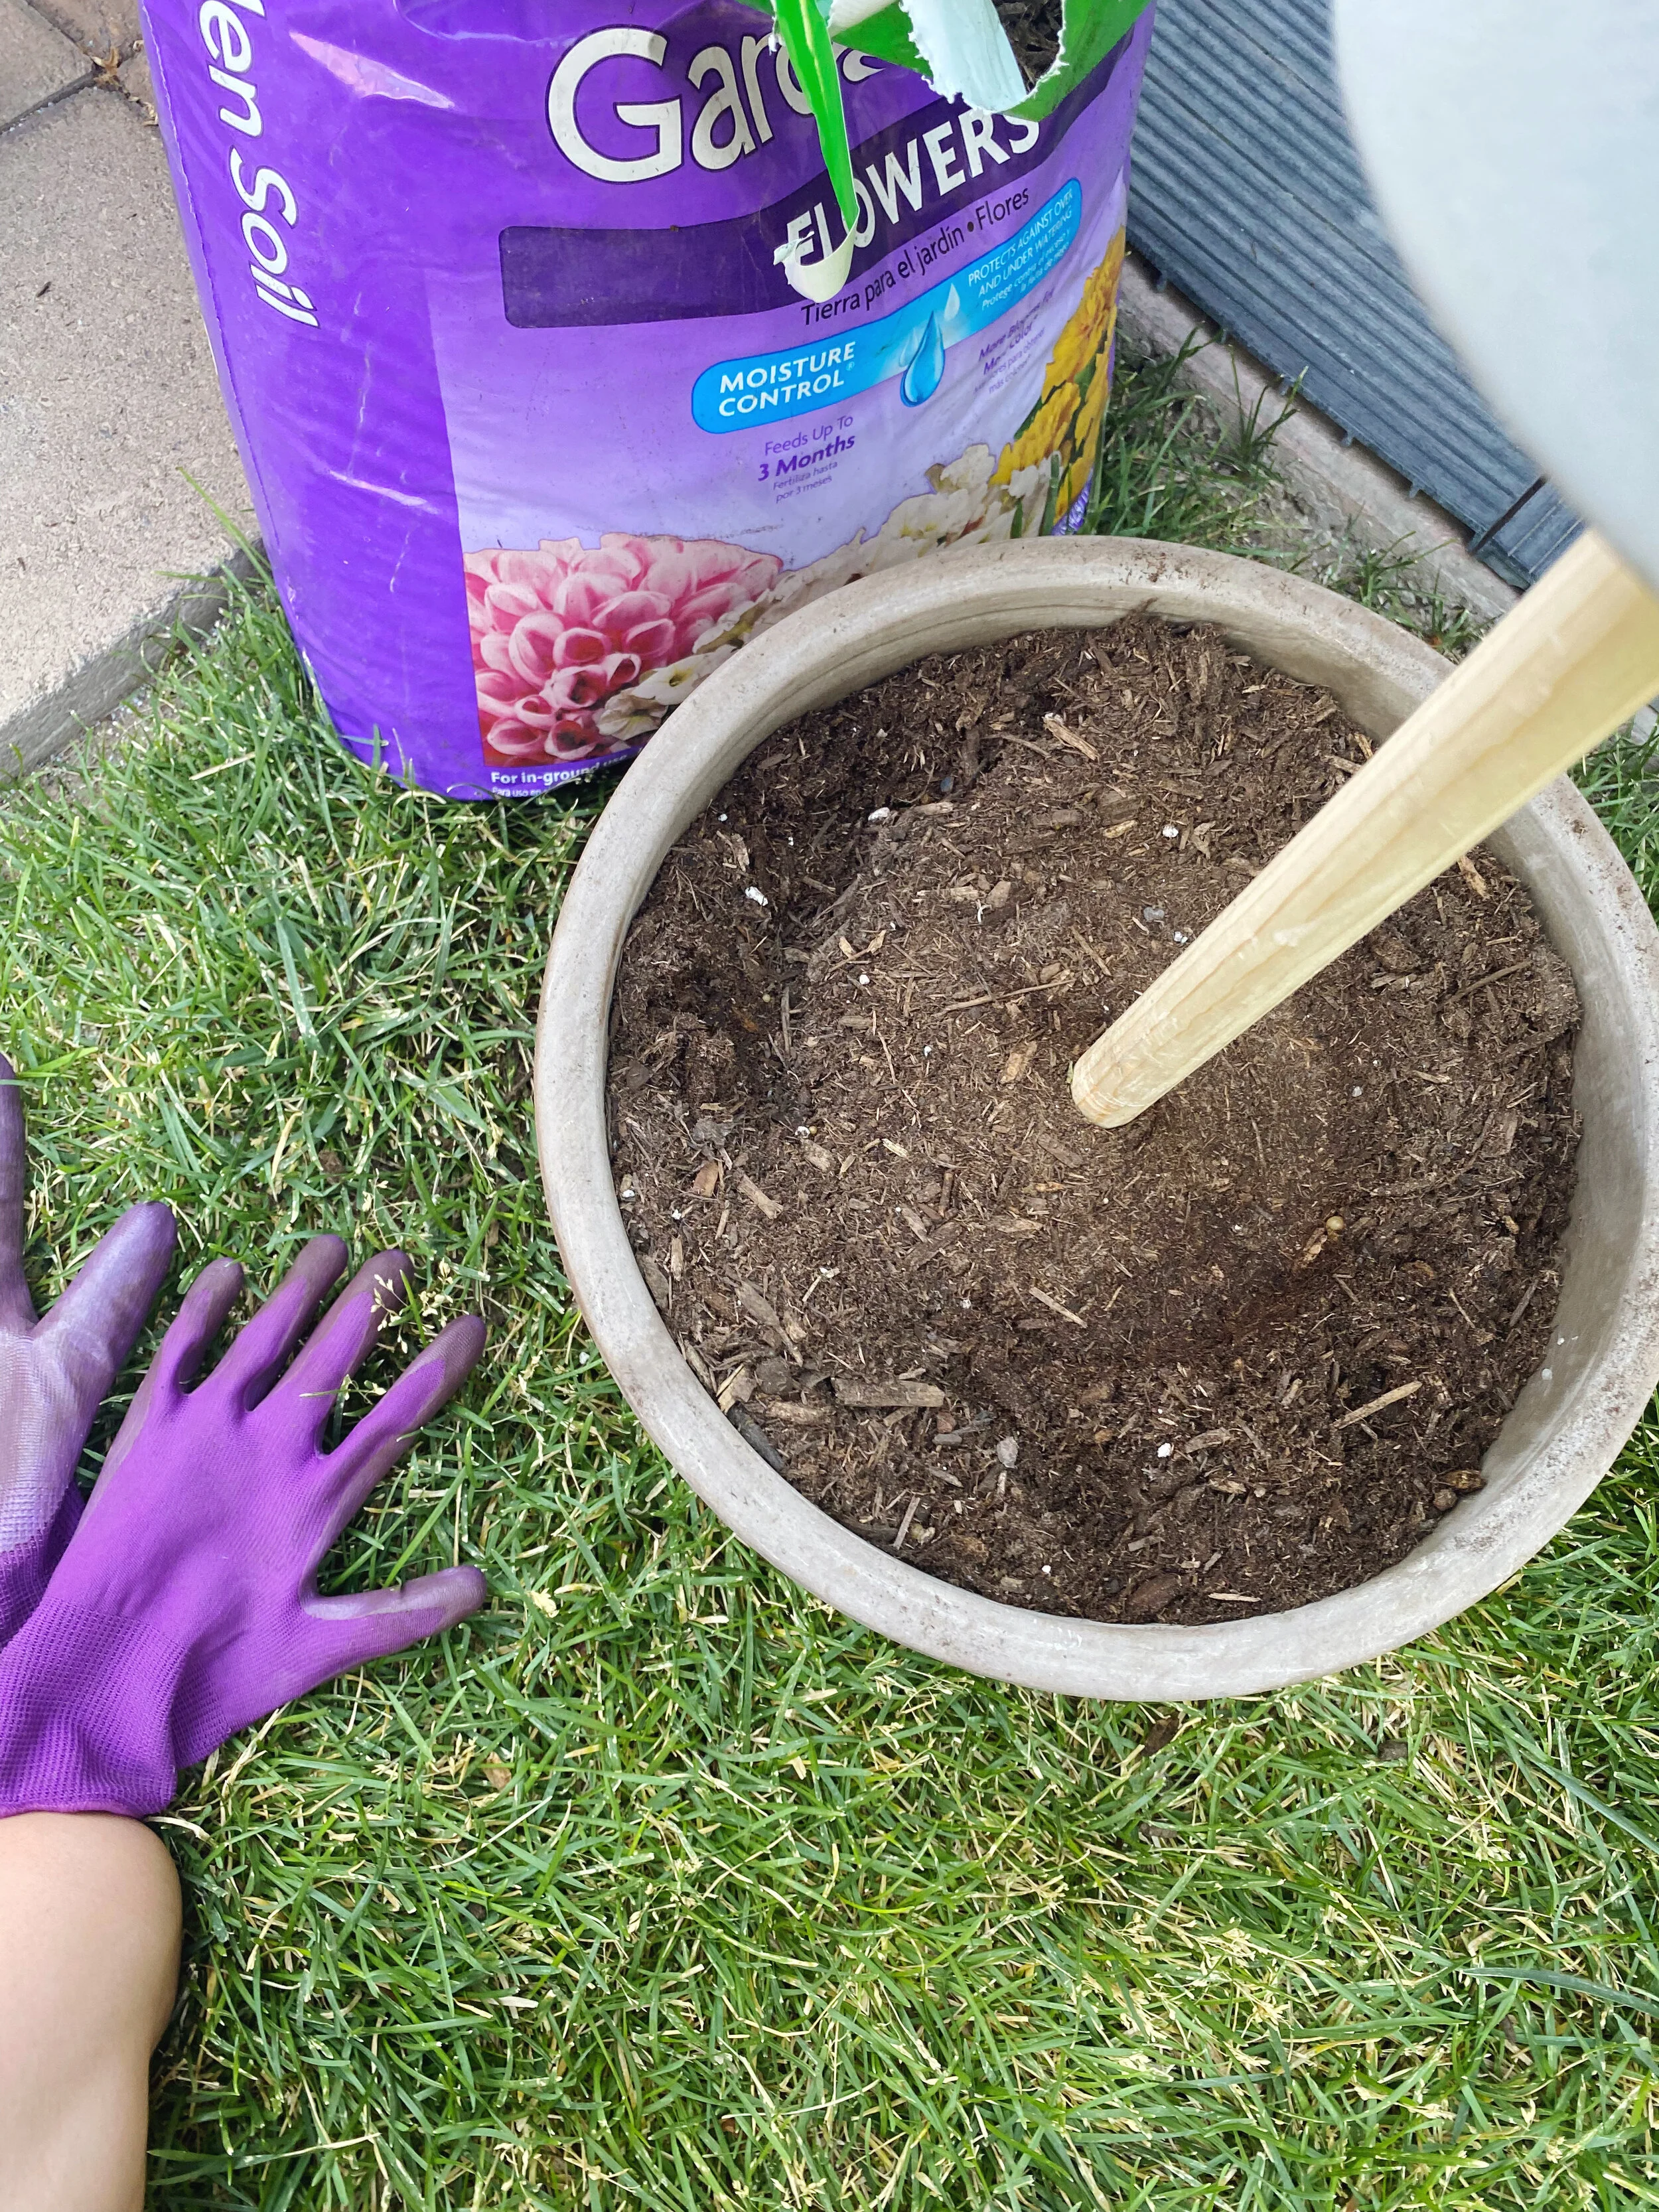
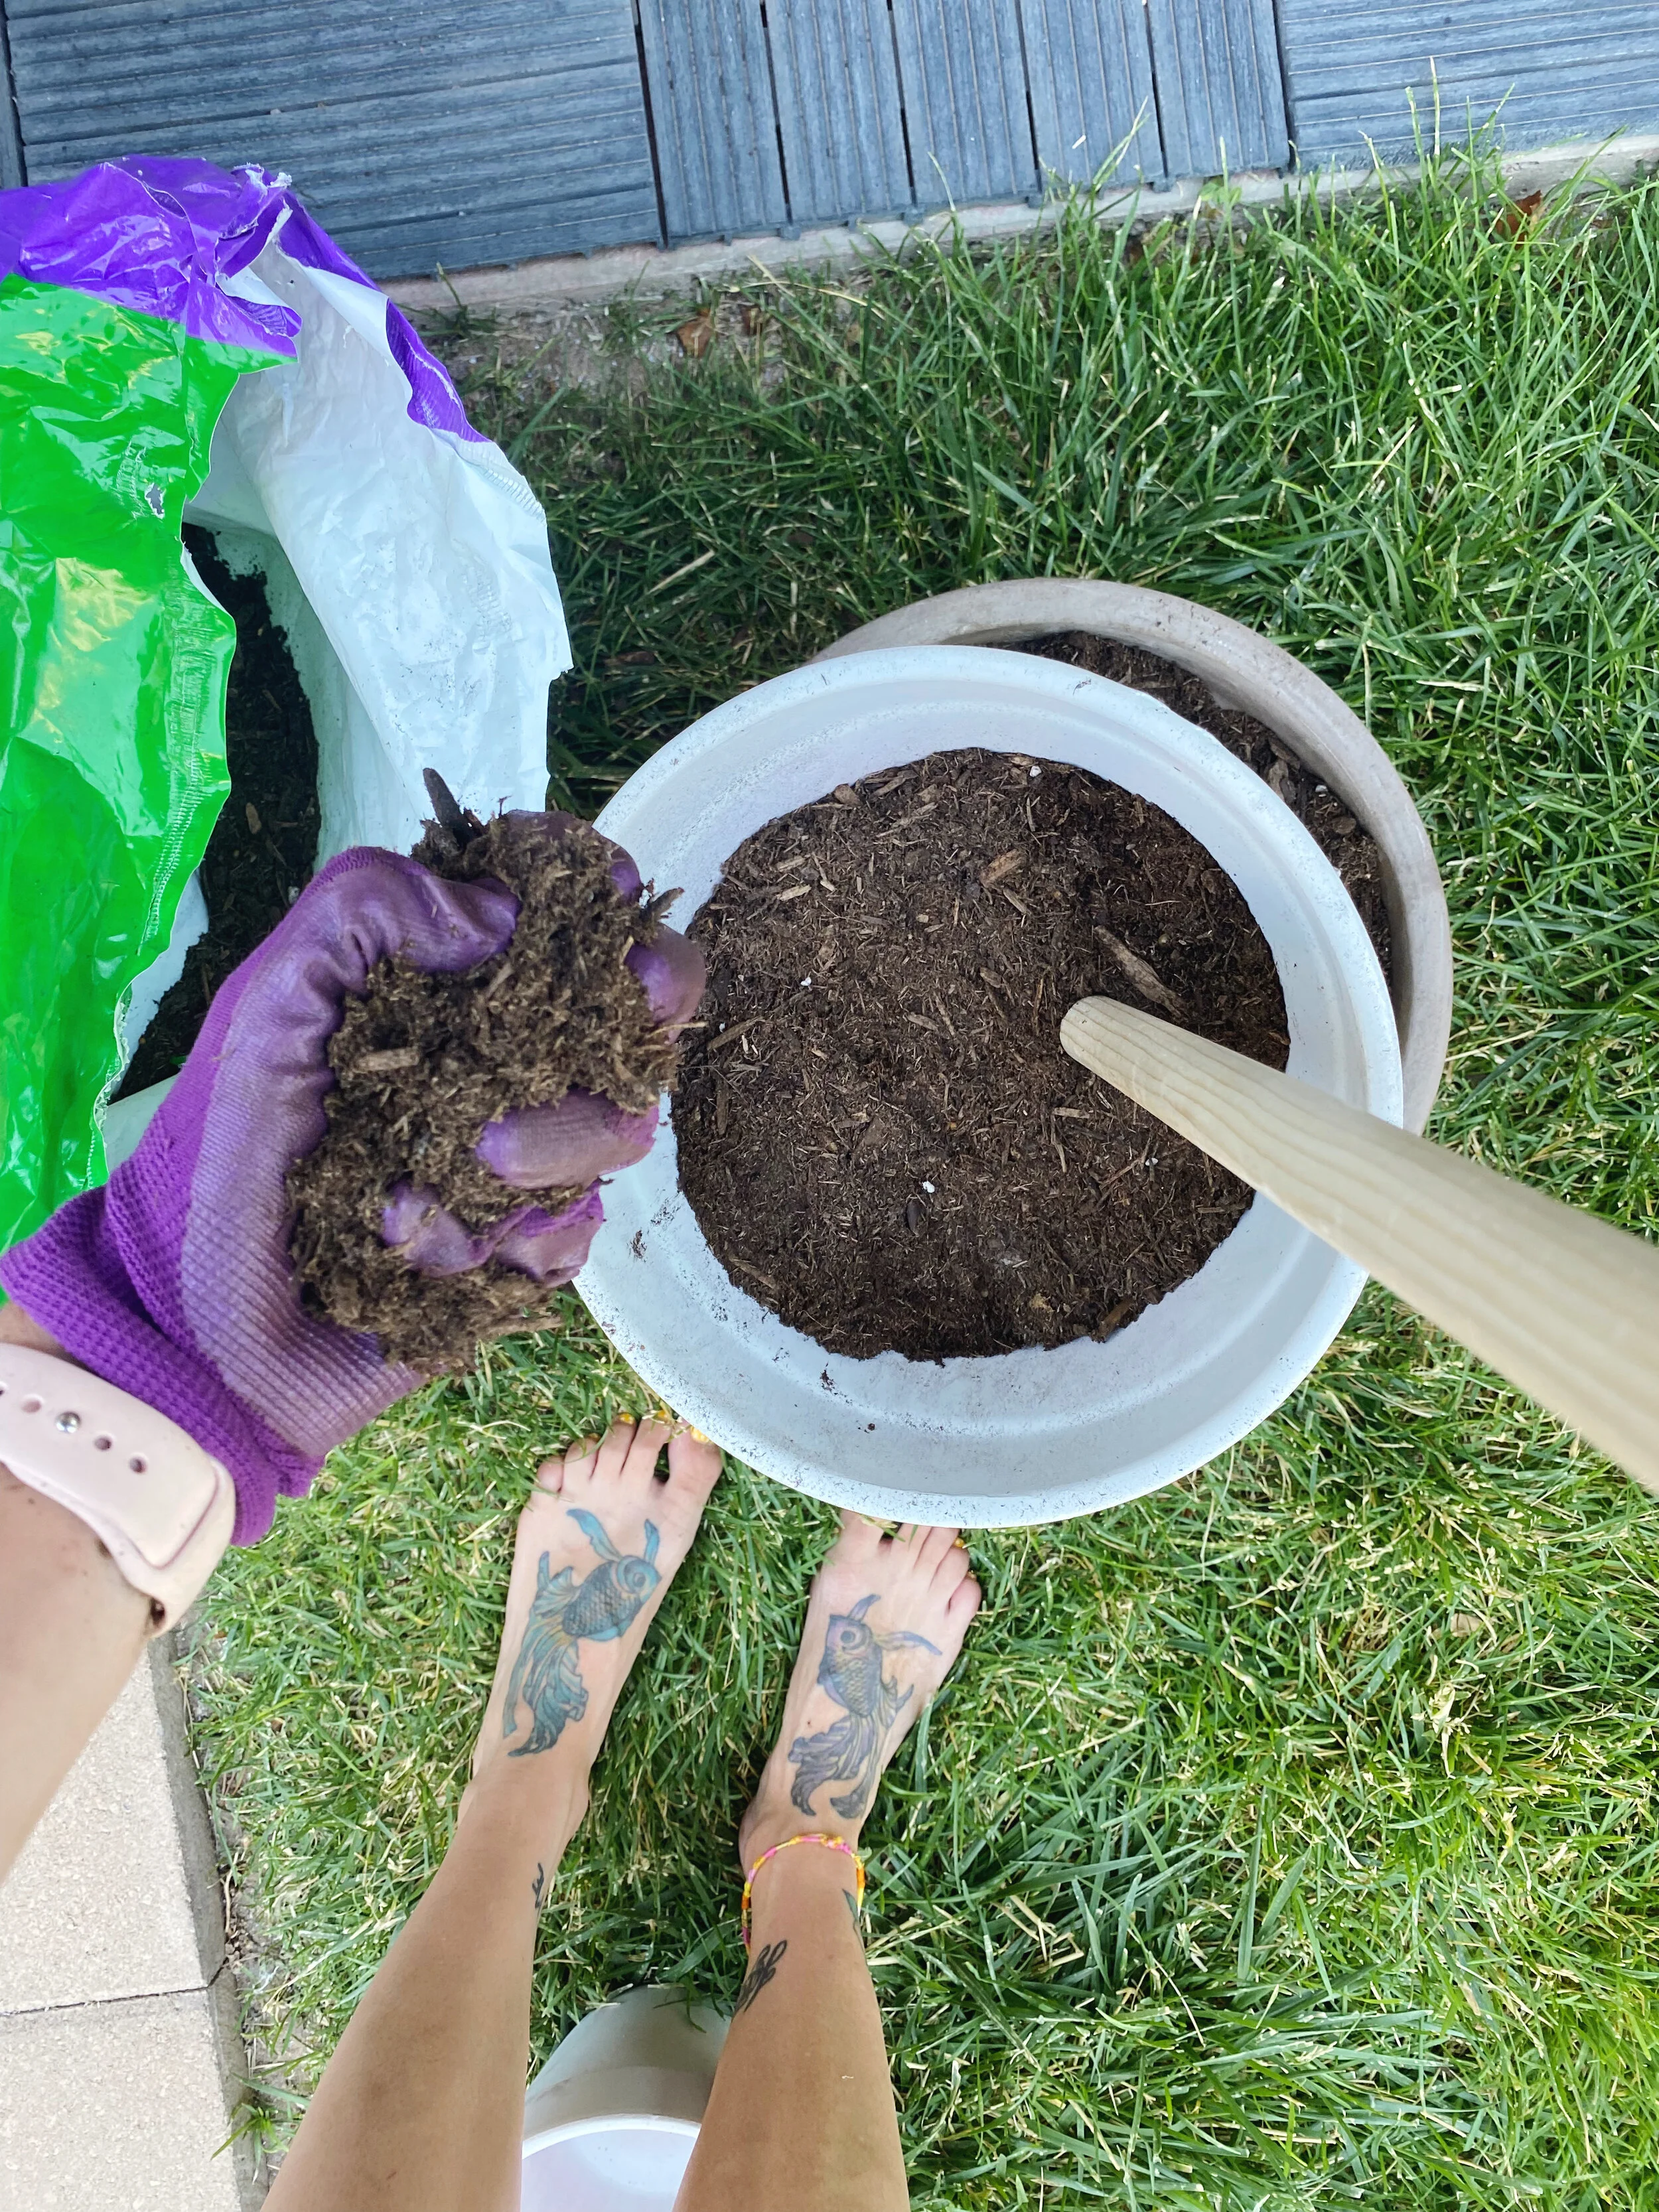
Add potting soil to the base pot, but don’t add any plants yet.
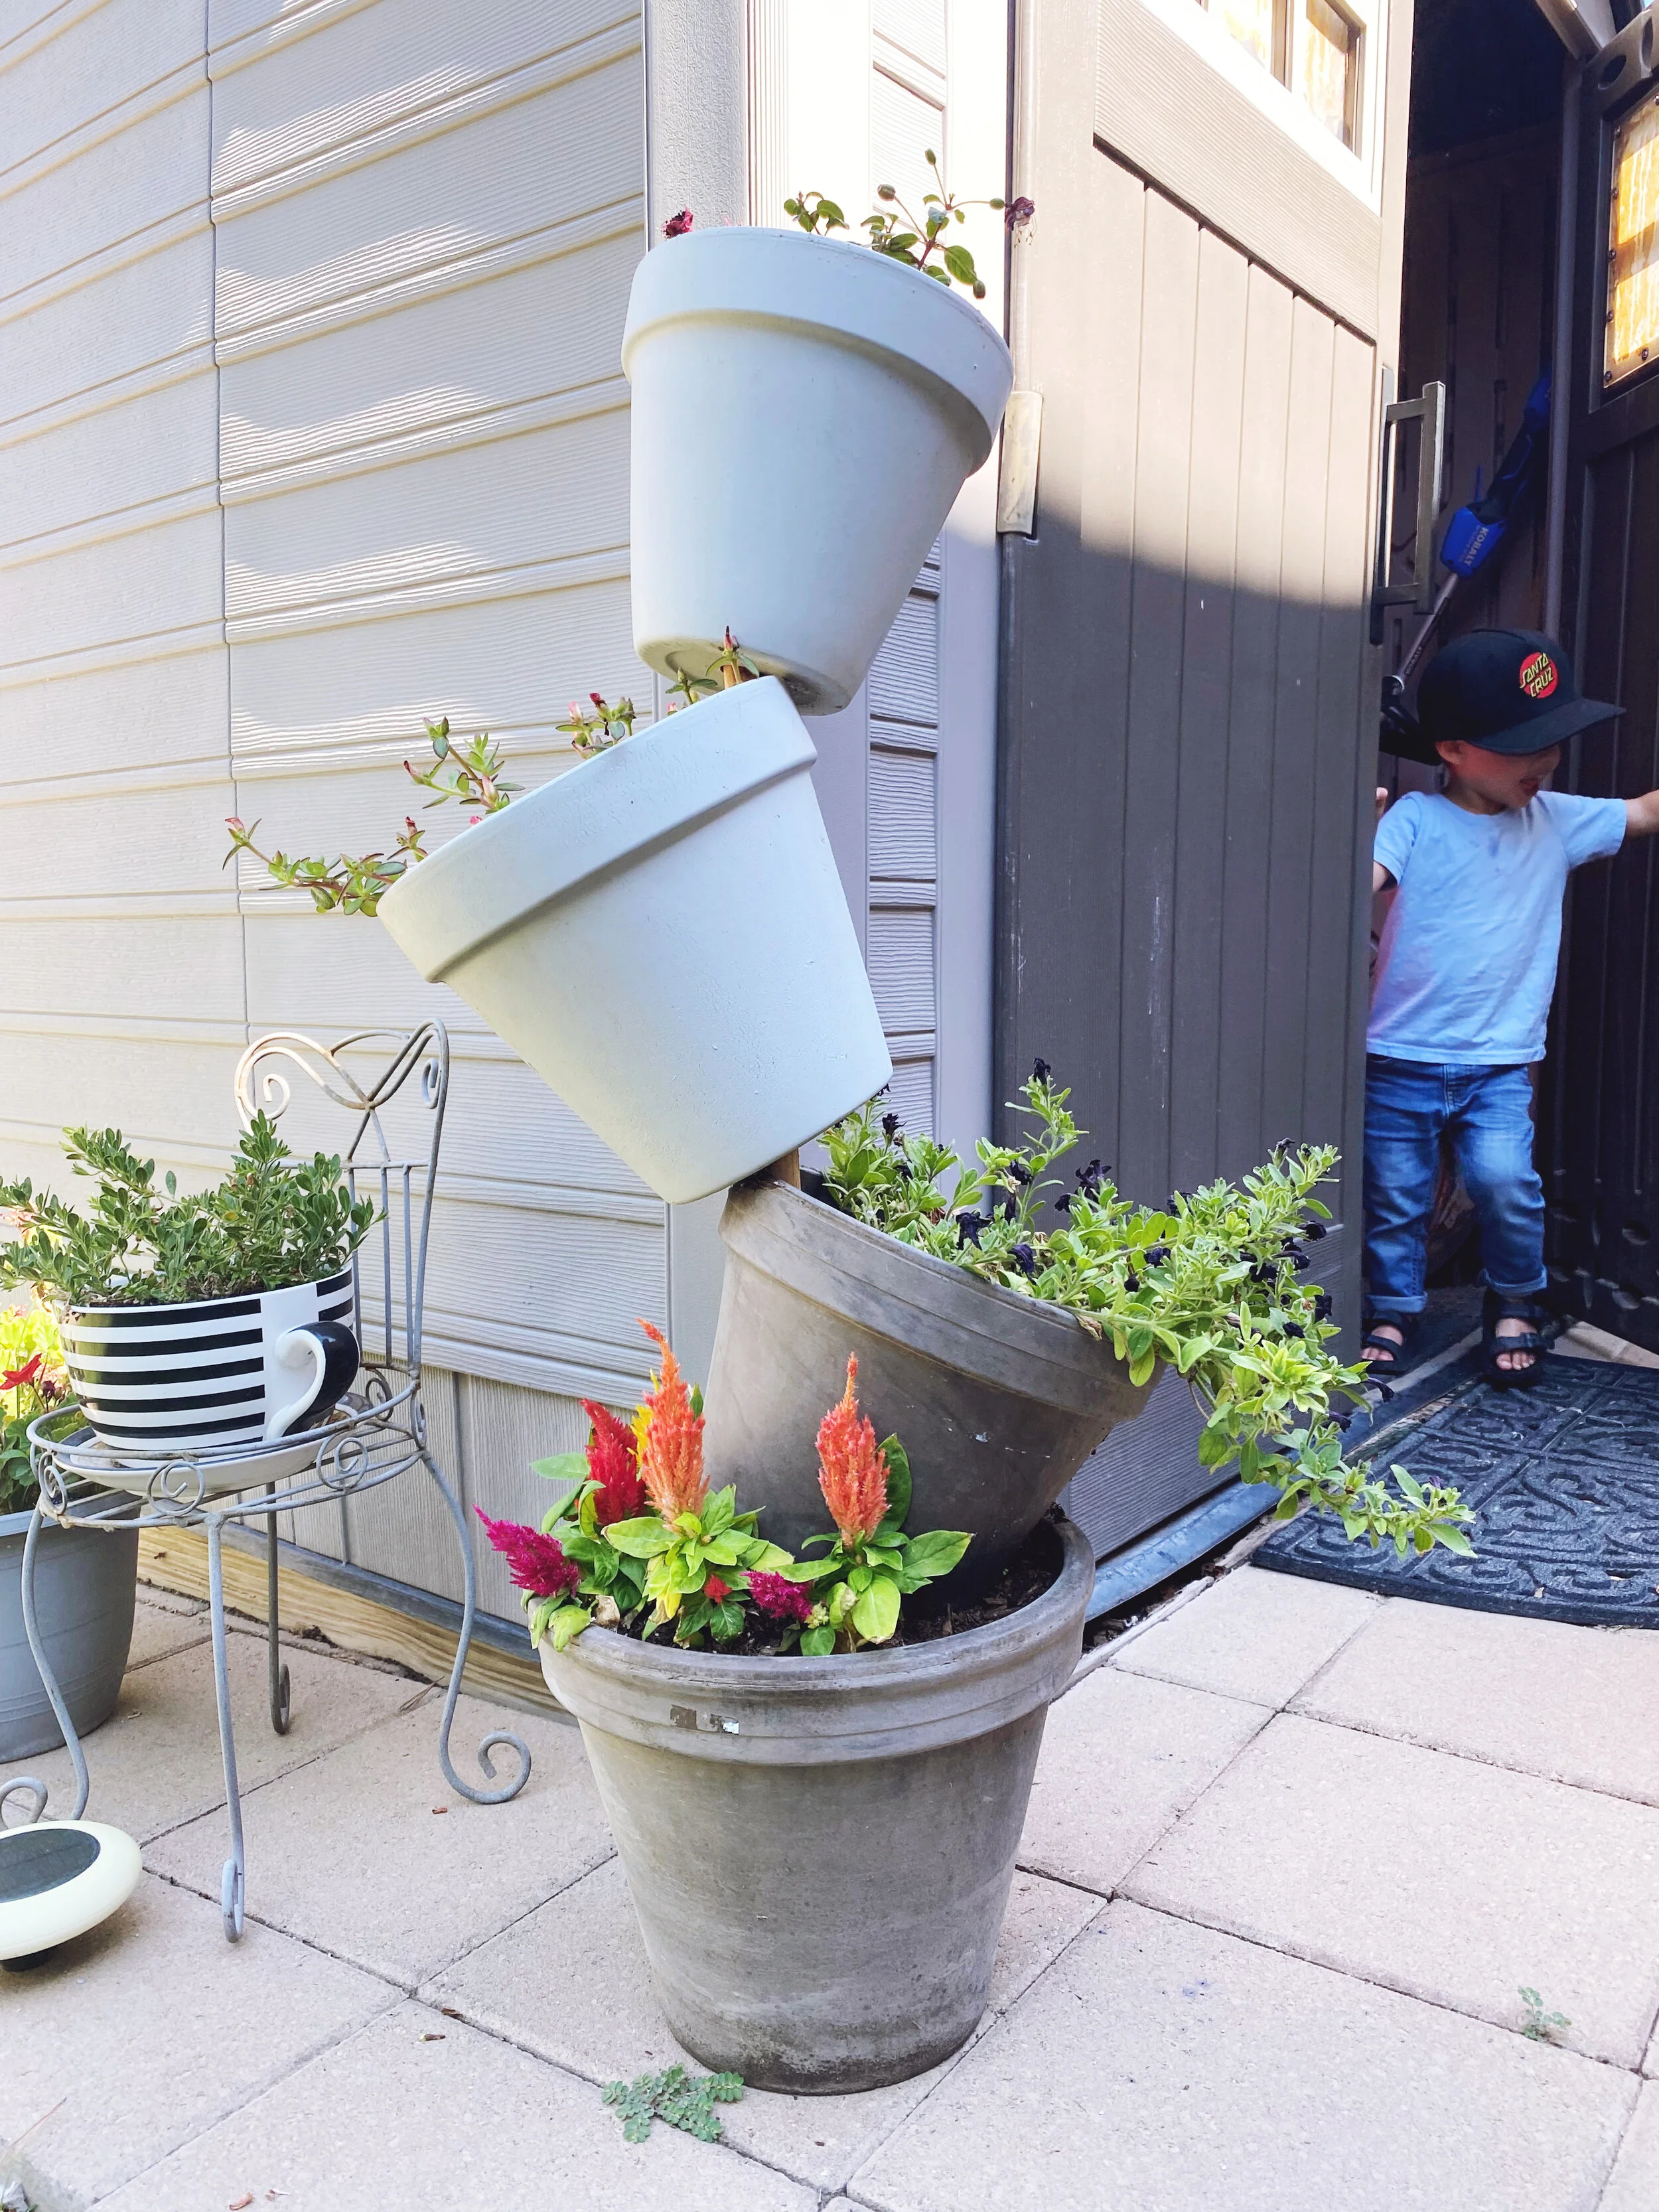
Once you have added the soil, slide one 8-inch terracotta pot down onto the wooden dowel. You can add more soil to the base pot to help support the stacked pots. You’ll want each pot to tilt as much as possible on the dowel. This adds tension so it has more support.
Add soil to the second pot, making sure that the soil is level (with the ground, not with the pot). Repeat until all pots are stacked on the wooden dowel. Wiggle and adjust the pots to get each one just right!
TIP: Keep in mind that since the pots are tilted, you’ll want to take extra care to make sure the soil is level. If not, you’ll make a big mess like I did the first time. LOL. If this happens to you, it’s easily fixed by removing some soil.
Once all pots are stacked, filled with soil, and sturdy, you can go back and add E6000 glue to each spot where the pots are touching. This will give your planter some extra support. I found that adding the E6000 as I stacked each pot did not work as well, and made for a lot of wasted glue.
After the E6000 dries (overnight), you can plant your flowers! This might seem tedious because you just filled the pots and carefully leveled them, but this makes it easier to arrange your plants for clean and stress-free watering.
This will be the last time that I make a present for someone, in front of them, that I have never made before. Thank God for dads, am I right?
My dad’s birthday is this month! What random DIY disaster should I make and surprise him with this time? Hehe
Have the best day ever! Thanks for reading!
Always and Whatever
XO

